In the world of design, innovation is key. Sure, tried-and-true methods have their place, but those who truly push the boundaries are the ones who shape the future of aesthetics. At UBQ Industries, we're passionate about exploring unique design possibilities, and our recent Corian countertop overlay project is a testament to that spirit!
The Beauty of the Corian Overlay
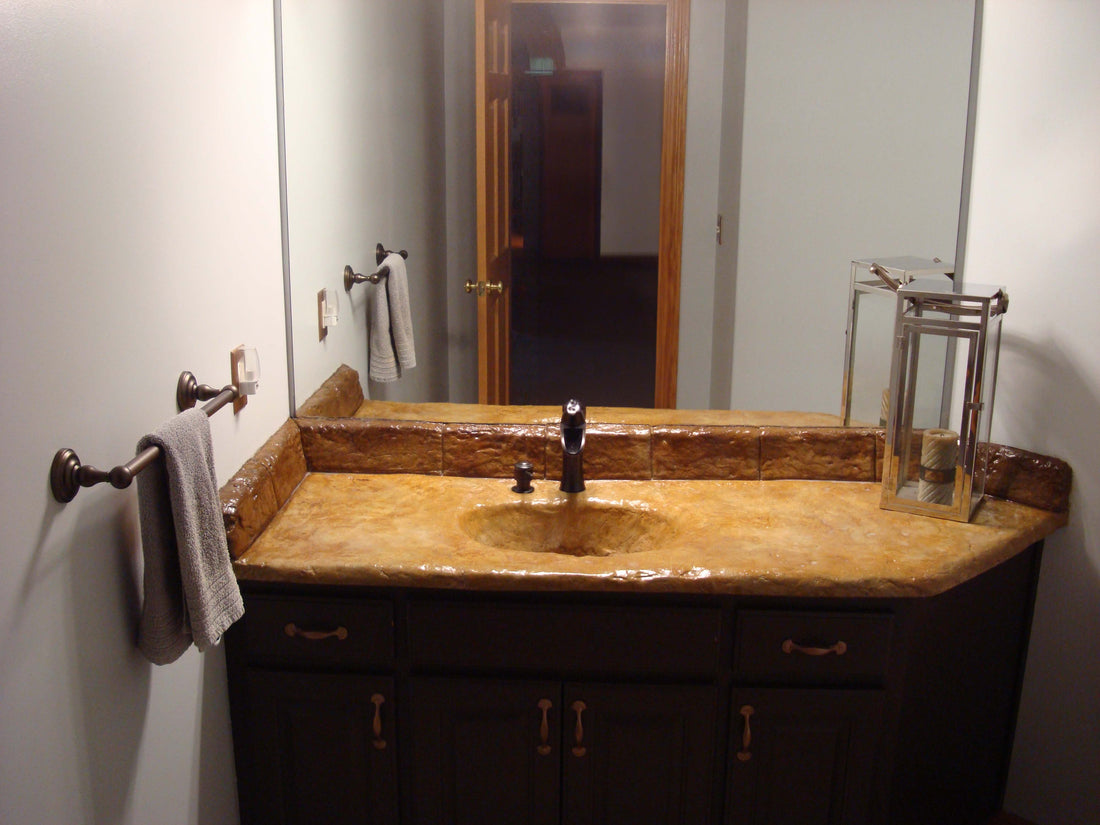
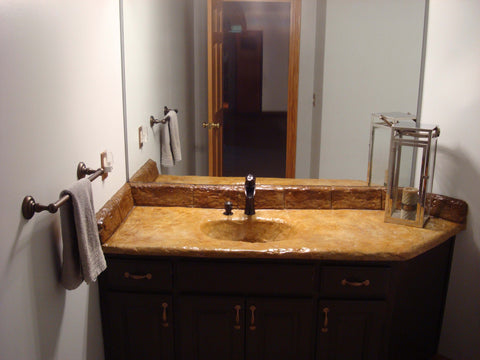
We took a standard Corian countertop and transformed it into a stunning, one-of-a-kind masterpiece using a simple yet impactful technique: a plain grey stampable concrete overlay. The finished product boasts an undeniable elegance, with the added benefit of being incredibly easy to clean and maintain.
| Before | After |
 |
 |
Bringing the Vision to Life: A Step-by-Step Guide
Ready to try the Corian overlay technique yourself? Here's a breakdown of the process:
Step 1 - Prep is Paramount: Safety first! Shut off the water supply and remove the faucet. Next, meticulously mask or tape off any surrounding areas you don't want to be affected by the overlay or stain. In our project, we built a small base under the countertop lip and taped off nearby walls and mirrors.
Step 2 - Wire Mesh Reinforcement: Apply a layer of wire mesh to the entire countertop surface. Secure the mesh by screwing it directly into the countertop for optimal stability.
Step 3 - The Art of Application: Mix your stampable concrete overlay according to the manufacturer's instructions. Using a slapping motion (not pounding!), apply the overlay to the countertop in small sections. Work quickly and efficiently, gently pressing the overlay into the wire mesh as you go. Begin the stamping process as soon as you've covered a workable area.
|
Wire Mesh
|
Working the Overlay
|
 |
|

Step 4 - Adding Finesse: Once the stamping is complete, incorporate any desired faux cut lines for added visual interest. Carefully re-install the faucet, pressing it gently into the overlay to create a small indentation for a seamless fit.
Step 5 - Staining for Style: After the overlay has fully cured (typically 24 hours or more), apply your chosen concrete stain. In our project, we opted for a rich "English Mahogany" for the backsplash and a contrasting "Desert Fire" for the base, creating a dramatic two-toned effect.
|
Stamp the overlay
|
Apply Concrete Stain
|
 |
 |
Step 6 - Clean and neutralize the concrete acid stain and brush on the sealer
| Clean, Neutralize, Seal | Finished Product |
 |
 |
A Weekend Well Spent
While the total project time was roughly 8 hours, factoring in curing times meant the entire process spanned a weekend. But the wait was well worth it! The end result is a show-stopping countertop that's both beautiful and functional – a true conversation starter in any kitchen.
Ready to break away from the ordinary and embrace a unique design trend? The Corian overlay technique is a fantastic way to breathe new life into your countertops. So grab your tools, unleash your creativity, and get ready to transform your kitchen space!
Products used:
 |
 |
 |